
-
 客服电话
客服电话
-
 APP下载
APP下载
迪恩网络APP
随时随地掌握行业动态

-
 官方微信
官方微信
扫描二维码
关注迪恩网络微信公众号


 客服电话
APP下载
客服电话
APP下载
迪恩网络APP
随时随地掌握行业动态
官方微信
扫描二维码
关注迪恩网络微信公众号
开源软件名称(OpenSource Name):tolu360/react-native-google-places开源软件地址(OpenSource Url):https://github.com/tolu360/react-native-google-places开源编程语言(OpenSource Language):Java 65.7%开源软件介绍(OpenSource Introduction):react-native-google-placesiOS/Android Google Places Widgets (Autocomplete Modal) and API Services for React Native Apps Notice: The Google Play Services version of the Places SDK for Android (in Google Play Services 16.0.0) is deprecated as of January 29, 2019, and will be turned off on July 29, 2019. A new version of the Places SDK for Android is now available. I suggest you read the documentations again and update your app to use v3.0.1 (or above) of this packageShots
Versioning:
Sample App
InstallOR Google Places API Set-Up
Post-Install Steps (iOS)1) Auto Linking & Cocoapods Integration
# platform :ios, '9.0'

target '_YOUR_PROJECT_TARGET_' do

  # Pods for _YOUR_PROJECT_TARGET_
  pod 'React', :path => '../node_modules/react-native', :subspecs => [
    'Core',
    'CxxBridge',
    'DevSupport',
    'RCTText',
    'RCTImage',
    'RCTNetwork',
    'RCTWebSocket',
    'RCTSettings',
    'RCTAnimation',
    'RCTLinkingIOS',
    # Add any other subspecs you want to use in your project
    # Remove any subspecs you don't want to use in your project
  ]

  pod "yoga", :path => "../node_modules/react-native/ReactCommon/yoga"
  pod 'DoubleConversion', :podspec => '../node_modules/react-native/third-party-podspecs/DoubleConversion.podspec'
  pod 'glog', :podspec => '../node_modules/react-native/third-party-podspecs/glog.podspec'
  pod 'Folly', :podspec => '../node_modules/react-native/third-party-podspecs/Folly.podspec'
  # This should already be auto-added for you, if not add the line below
  pod 'react-native-google-places', :path => '../node_modules/react-native-google-places'

end

post_install do |installer|
  installer.pods_project.targets.each do |target|
    if target.name == 'react-native-google-places'
      target.build_configurations.each do |config|
        config.build_settings['CLANG_ENABLE_MODULES'] = 'No'
      end
    end
    if target.name == "React"
      target.remove_from_project
    end
  end
end
2) Configuration on iOS
    @import GooglePlaces;
    @import GoogleMaps;
on top of the file.
[GMSPlacesClient provideAPIKey:@"YOUR_IOS_API_KEY_HERE"];
[GMSServices provideAPIKey:@"YOUR_IOS_API_KEY_HERE"];
<key>NSLocationWhenInUseUsageDescription</key>
	<string>RNGPDemos needs your location to show you places</string>
	<key>NSLocationAlwaysAndWhenInUseUsageDescription</key>
	<string>RNGPDemos needs your location to show you places</string>
Post-Install Steps (Android)Auto Linking With Your Project
<uses-permission android:name="android.permission.ACCESS_FINE_LOCATION" />

<uses-permission android:name="android.permission.ACCESS_WIFI_STATE" />
RNGP_ANDROID_API_KEY=Insert_API_KEY_hereManual Linking With Your Project (Android)
include ':react-native-google-places'
project(':react-native-google-places').projectDir = new File(rootProject.projectDir, '../node_modules/react-native-google-places/android')
dependencies {
    ...
    compile project(':react-native-google-places')
}
allprojects {
    repositories {
        ...
        maven {
            // All of React Native (JS, Obj-C sources, Android binaries) is installed from npm
            url "$rootDir/../node_modules/react-native/android"
        }
        maven {
            url "https://maven.google.com"
        }
    }
}
import com.arttitude360.reactnative.rngoogleplaces.RNGooglePlacesPackage;

@Override
protected List<ReactPackage> getPackages() {
  return Arrays.<ReactPackage>asList(
      new MainReactPackage(),
      ...
      new RNGooglePlacesPackage() //<-- Add line
  );
}
Additional Requirement (Android)
android {
    defaultConfig {
        ...
        multiDexEnabled true
    }
    compileOptions {
        sourceCompatibility JavaVersion.VERSION_1_8
        targetCompatibility JavaVersion.VERSION_1_8
    }
}
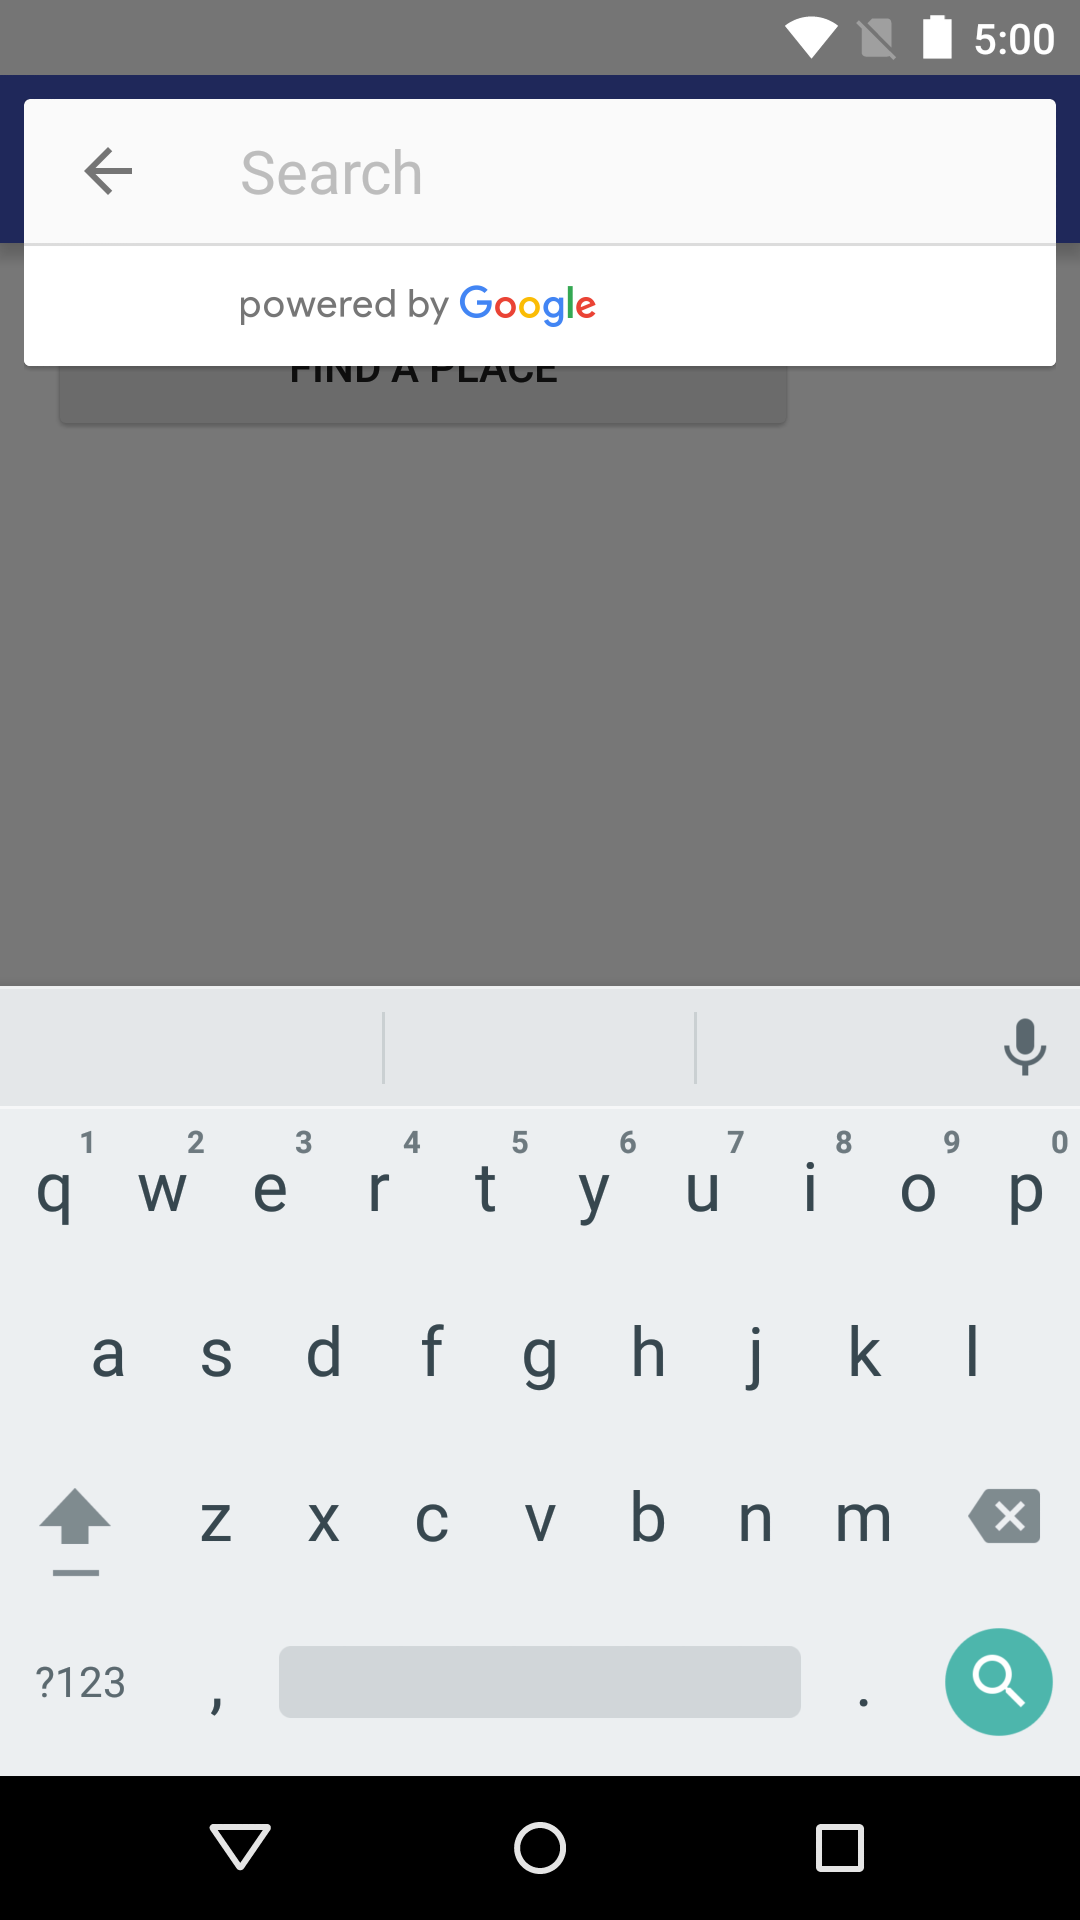
UsageAllows your users to enter place names and addresses - and autocompletes your users' queries as they type.Import libraryimport RNGooglePlaces from 'react-native-google-places';Open Autocomplete Modal (e.g as Callback to an onPress event)class GPlacesDemo extends Component {
openSearchModal() {
RNGooglePlaces.openAutocompleteModal()
.then((place) => {
console.log(place);
// place represents user's selection from the
// suggestions and it is a simplified Google Place object.
})
.catch(error => console.log(error.message)); // error is a Javascript Error object
}
render() {
return (
<View style={styles.container}>
<TouchableOpacity
style={styles.button}
onPress={() => this.openSearchModal()}
>
<Text>Pick a Place</Text>
</TouchableOpacity>
</View>
);
}
}Optional ParametersTo customize autocomplete results as listed for Android and iOS in the official docs, you can pass an RNGooglePlaces.openAutocompleteModal({
initialQuery: 'vestar',
locationRestriction: {
latitudeSW: 6.3670553,
longitudeSW: 2.7062895,
latitudeNE: 6.6967964,
longitudeNE: 4.351055
},
country: 'NG',
type: 'establishment'
}, ['placeID', 'location', 'name', 'address', 'types', 'openingHours', 'plusCode', 'rating', 'userRatingsTotal', 'viewport']
)
.then((place) => {
console.log(place);
})
.catch(error => console.log(error.message));OPTIONS
NOTE - On iOS, only one of PLACE FIELDS
Example Response from the Autocomplete Modal{ priceLevel: 0,
viewport: {
longitudeSW: 3.320172219708498,
latitudeSW: 6.572546249999999,
longitudeNE: 3.322870180291502,
latitudeNE: 6.584909250000001
},
address: 'Lagos, Nigeria',
location: {
longitude: 3.3211348,
latitude: 6.5818185
},
addressComponents: [
{ shortName: 'Lagos',
name: 'Lagos',
types: [ 'locality', 'political' ]
},
{ shortName: 'LA',
name: 'Lagos',
types: [ 'administrative_area_level_1', 'political' ]
},
{ shortName: 'NG',
name: 'Nigeria',
types: [ 'country', 'political' ]
}
],
userRatingsTotal: 939,
plusCode: {
globalCode: '6FR5H8JC+PF',
compoundCode: 'H8JC+PF Lagos, Nigeria'
},
rating: 3.2,
types: [ 'airport', 'point_of_interest', 'establishment' ],
attributions: [],
placeID: 'ChIJhRTXUeeROxARmk_Rp3PtIvI',
name: 'Murtala Muhammed International Airport'
}
Get Current PlaceThis method returns to you the place where the device is currently located. That is, the place at the device's currently-reported location. For each place, the result includes an indication of the likelihood that the place is the right one. A higher value for RNGooglePlaces.getCurrentPlace()
.then((results) => console.log(results))
.catch((error) => console.log(error.message));OR RNGooglePlaces.getCurrentPlace(['placeID', 'location', 'name', 'address'])
.then((results) => console.log(results))
.catch((error) => console.log(error.message));PLACE FIELDS
Example Response from Calling getCurrentPlace()[{ name: 'Facebook HQ',
website: 'https://www.facebook.com/',
longitude: -122.14835169999999,
address: '1 Hacker Way, Menlo Park, CA 94025, USA',
latitude: 37.48485,
placeID: 'ChIJZa6ezJa8j4AR1p1nTSaRtuQ',
types: [ 'street_address', 'geocode' ],
phoneNumber: '+1 650-543-4800',
likelihood: 0.9663974,
...
},{
...
}]The sum of the likelihoods in a given result set is always less than or equal to 1.0. Note that the sum isn't necessarily 1.0. Using Your Own Custom UI/ViewsIf you have specific branding needs or you would rather build out your own custom search input and suggestions list (think Get Autocomplete Predictions RNGooglePlaces.getAutocompletePredictions('facebook')
.then((results) => this.setState({ predictions: results }))
.catch((error) => console.log(error.message));Optional Par |

2023-10-27
2022-08-15
2022-08-17
2022-09-23
2022-08-13

六六分期app的软件客服如何联系?不知道吗?加qq群【895510560】即可!标题:六六分期
今天小编告诉大家如何处理win10系统火狐flash插件总是崩溃的问题,可能很多用户都不知

今天小编告诉大家如何对win10系统删除桌面回收站图标进行设置,可能很多用户都不知道
今天小编告诉大家如何对win10系统电脑设置节能降温的设置方法,想必大家都遇到过需要
我们在使用xp系统的过程中,经常需要对xp系统无线网络安装向导设置进行设置,可能很多
今天小编告诉大家如何处理win7系统玩cf老是与主机连接不稳定的问题,可能很多用户都不
电脑对日常生活的重要性小编就不多说了,可是一旦碰到win7系统设置cf烟雾头的问题,很
我们在日常使用电脑的时候,有的小伙伴们可能在打开应用的时候会遇见提示应用程序无法
今天小编告诉大家如何对win7系统打开vcf文件进行设置,可能很多用户都不知道怎么对win
今天小编告诉大家如何对win10系统s4开启USB调试模式进行设置,可能很多用户都不知道怎


请发表评论