开源软件名称(OpenSource Name):richzertuche/ZMaterialDesignUIButton
开源软件地址(OpenSource Url):https://github.com/richzertuche/ZMaterialDesignUIButton
开源编程语言(OpenSource Language):
Swift
52.6%
开源软件介绍(OpenSource Introduction):ZMaterialDesignUIButton
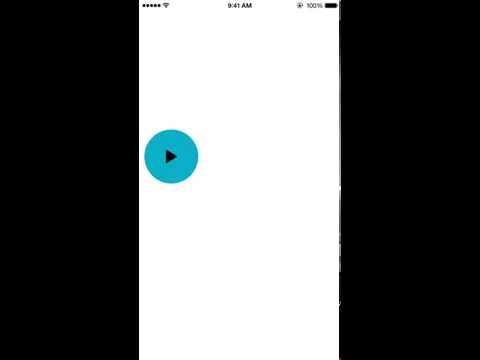
Swift and Objective-C Animated Material Design UIButton
This Swift and Objective-C! UIButton was made inspired in Google new Material Design, and this GIF :]

[](http://www.youtube.com/watch?v=LApnUpnI094)
**You need to add the ZMaterialButtonDelegate to your Controller:**
class ViewController: UIViewController, ZMaterialButtonDelegate {
}
**To create a Material UIButton init it with frame and set the Zdelegate, a .endPoint (CGPoint) and a .changeToImage (UIImage)**
Swift
```swift
let containerView = UIView(frame: CGRect(x: 0, y: 200, width: self.view.frame.size.width, height: self.view.frame.size.height-200))
containerView.clipsToBounds = true
self.view.addSubview(containerView)
self.button = ZMaterialButton(frame: CGRect(x: 10, y: 40, width: 100, height: 100))
self.button.setImage(UIImage(named: "play"), forState: UIControlState.Normal)
self.button.backgroundColor = UIColor(red:0.05, green:0.69, blue:0.79, alpha:1)
self.button.endPoint = CGPoint(x:self.view.center.x-50, y: self.view.center.y-50)
self.button.changeToImage = UIImage(named: "pause")
self.button.Zdelegate = self
containerView.addSubview(self.button)
<h6>Obj-C</h6>
``` obj-c
ZMaterialButton *ZButton = [[ZMaterialButton alloc]initWithFrame:CGRectMake(40, 40, 50, 50)];
    [ZButton setImage:[UIImage imageNamed:@"play"] forState:UIControlStateNormal];
    [ZButton setBackgroundColor:[UIColor redColor]];
    [ZButton setEndAnimationPoint:CGPointMake(self.view.center.x-25, self.view.center.y-25)];
    ZButton.changeToImage = [UIImage imageNamed:@"pause"];
    ZButton.expandBy = 20;
    ZButton.originalParentViewColor = [UIColor whiteColor];
    ZButton.delegate = self;

    [self.view addSubview:ZButton];
**Add the delegate function ZMaterialButtonDidExpand() to your controller to know when the button expanded or reduced.**
Swift
```swift
func ZMaterialButtonDidExpand(button: ZMaterialButton, expanded: Bool){
if expanded == true {
self.testButtonExpanded()
UIView.animateWithDuration(0.1, delay: 0, options: .CurveEaseOut, animations: {
self.fButton.alpha = 1
self.bButton.alpha = 1
}, completion:nil)
}
else {
self.testButtonReduced()
UIView.animateWithDuration(0.2, delay: 0, options: .CurveEaseOut, animations: {
self.fButton.alpha = 0
self.bButton.alpha = 0
}, completion:nil)
}
}
```
Obj-C
```obj-c
- (void) ZMaterialButtonDidExpandButton:(ZMaterialButton *)button withSuccces:(BOOL)success{
if (success) {
NSLog(@"Expanded");
} else {
NSLog(@"Reduced");
}
}
```
Hope you like it :]
Follow me on Twitter @richzertuche

|

 客服电话
客服电话
 APP下载
APP下载

 官方微信
官方微信


](http://www.youtube.com/watch?v=LApnUpnI094)
请发表评论